Essential Yoga Poses Every Beginner Should Master
Embarking on a yoga journey can be both exciting and overwhelming. With thousands of asanas (poses) in the yogic tradition, knowing where to begin is crucial for building a strong foundation. The global yoga industry was valued at approximately $110 billion in 2022 and is projected to grow at a compound annual growth rate (CAGR) of over 11% through 2030.
One-to-one online yoga classes can offer personalized guidance, ensuring you learn proper alignment and techniques from the start. This guide focuses on the essential yoga poses that every beginner should master first, providing detailed instructions, benefits, and modifications to help you start your practice safely and effectively.
Why These Poses Matter
The poses covered in this article represent the fundamental building blocks of yoga practice. Mastering these basics will:
- Build body awareness and proper alignment
- Develop core strength and stability
- Improve flexibility in key areas
- Prepare your body for more advanced postures
- Reduce the risk of injury as you progress
Standing Poses: Building Your Foundation
Mountain Pose (Tadasana)
While seemingly simple, Mountain Pose teaches proper posture and body alignment—skills that translate to every other pose in yoga.
How to practice:
- Stand with feet hip-width apart or together, distributing weight evenly.
- Ground through all four corners of each foot.
- Engage your quadriceps and draw your kneecaps up slightly.
- Tilt your pelvis slightly forward, lengthening your lower back.
- Draw your shoulders back and down, broadening across your collar bones.
- Extend through the crown of your head, keeping your chin parallel to the floor.
- Let your arms rest by your sides, palms facing forward.
- Breathe deeply for 5-10 breaths.
Benefits: Improves posture, body awareness, balance, and concentration; strengthens thighs, knees, and ankles; firms abdomen and buttocks.
Modification: If balancing is difficult, stand with feet hip-width apart rather than together, or practice near a wall for support.
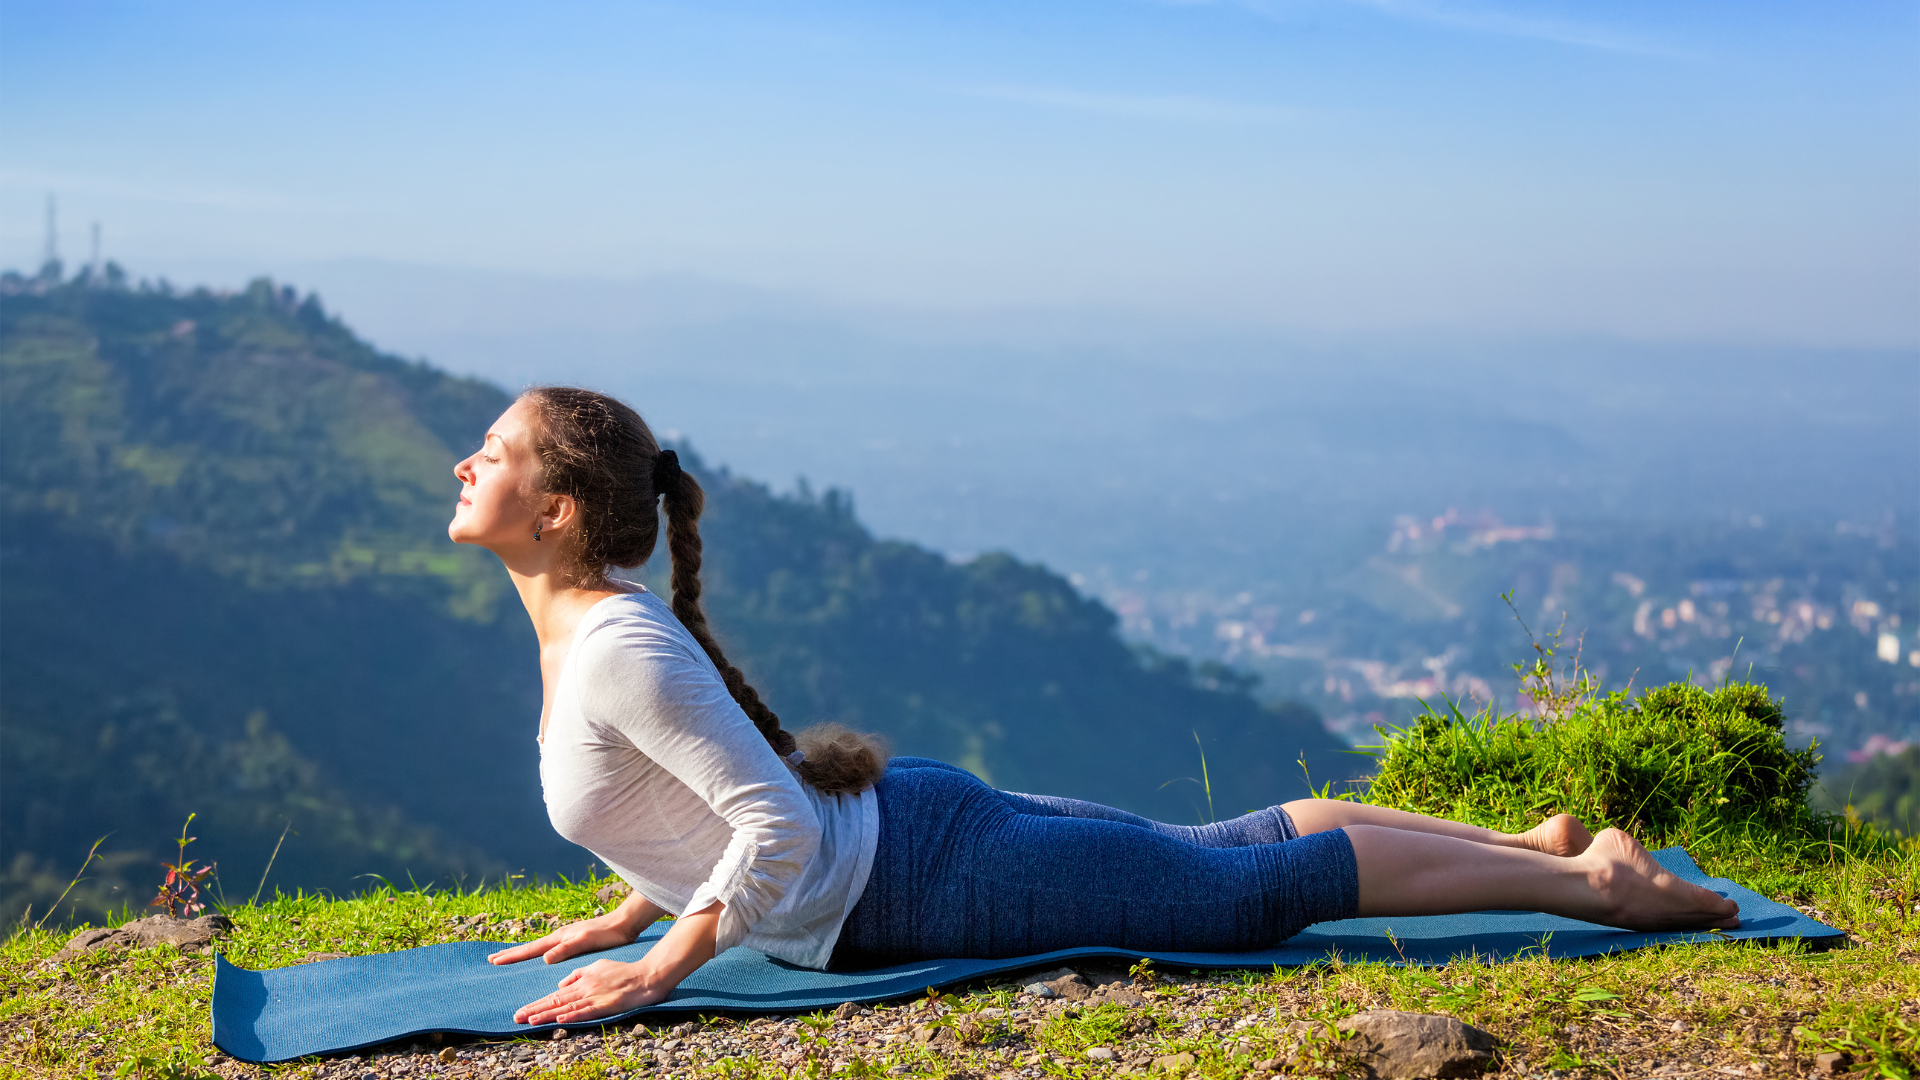
Downward-Facing Dog (Adho Mukha Svanasana)
This iconic pose appears in virtually every yoga class, serving as both a resting position and a strength builder.
How to practice:
- Start on hands and knees, wrists under shoulders and knees under hips.
- Spread your fingers wide, pressing firmly through your palms and knuckles.
- Tuck your toes and lift your knees off the floor.
- Lift your hips up and back, creating an inverted V-shape with your body.
- Keep a slight bend in your knees if hamstrings are tight.
- Press your heels toward the floor (they don’t need to touch).
- Draw your shoulder blades down your back and toward your tailbone.
- Keep your head between your upper arms, neck relaxed.
- Hold for 5-8 breaths.
Benefits: Strengthens arms, shoulders, and legs; stretches hamstrings, calves, and spine; improves circulation; energizes the body.
Modification: Keep knees bent to relieve hamstring tension, or place hands on blocks if wrists are sensitive.
Warrior I (Virabhadrasana I)
This powerful stance builds leg strength while opening the chest and shoulders.
How to practice:
- From Mountain Pose, step your left foot back 3-4 feet.
- Turn your left foot 45-60 degrees outward.
- Bend your right knee directly over your ankle, creating a 90-degree angle.
- Keep your torso facing forward over your right thigh.
- Raise your arms overhead, palms facing each other or touching.
- Draw your shoulders down and away from your ears.
- Look forward or slightly upward if comfortable for your neck.
- Hold for 3-5 breaths, then repeat on the opposite side.
Benefits: Strengthens legs, core, and arms; stretches hips, shoulders, and chest; improves balance and focus.
Modification: Keep the back heel lifted if the traditional stance is uncomfortable for your back leg or ankle.
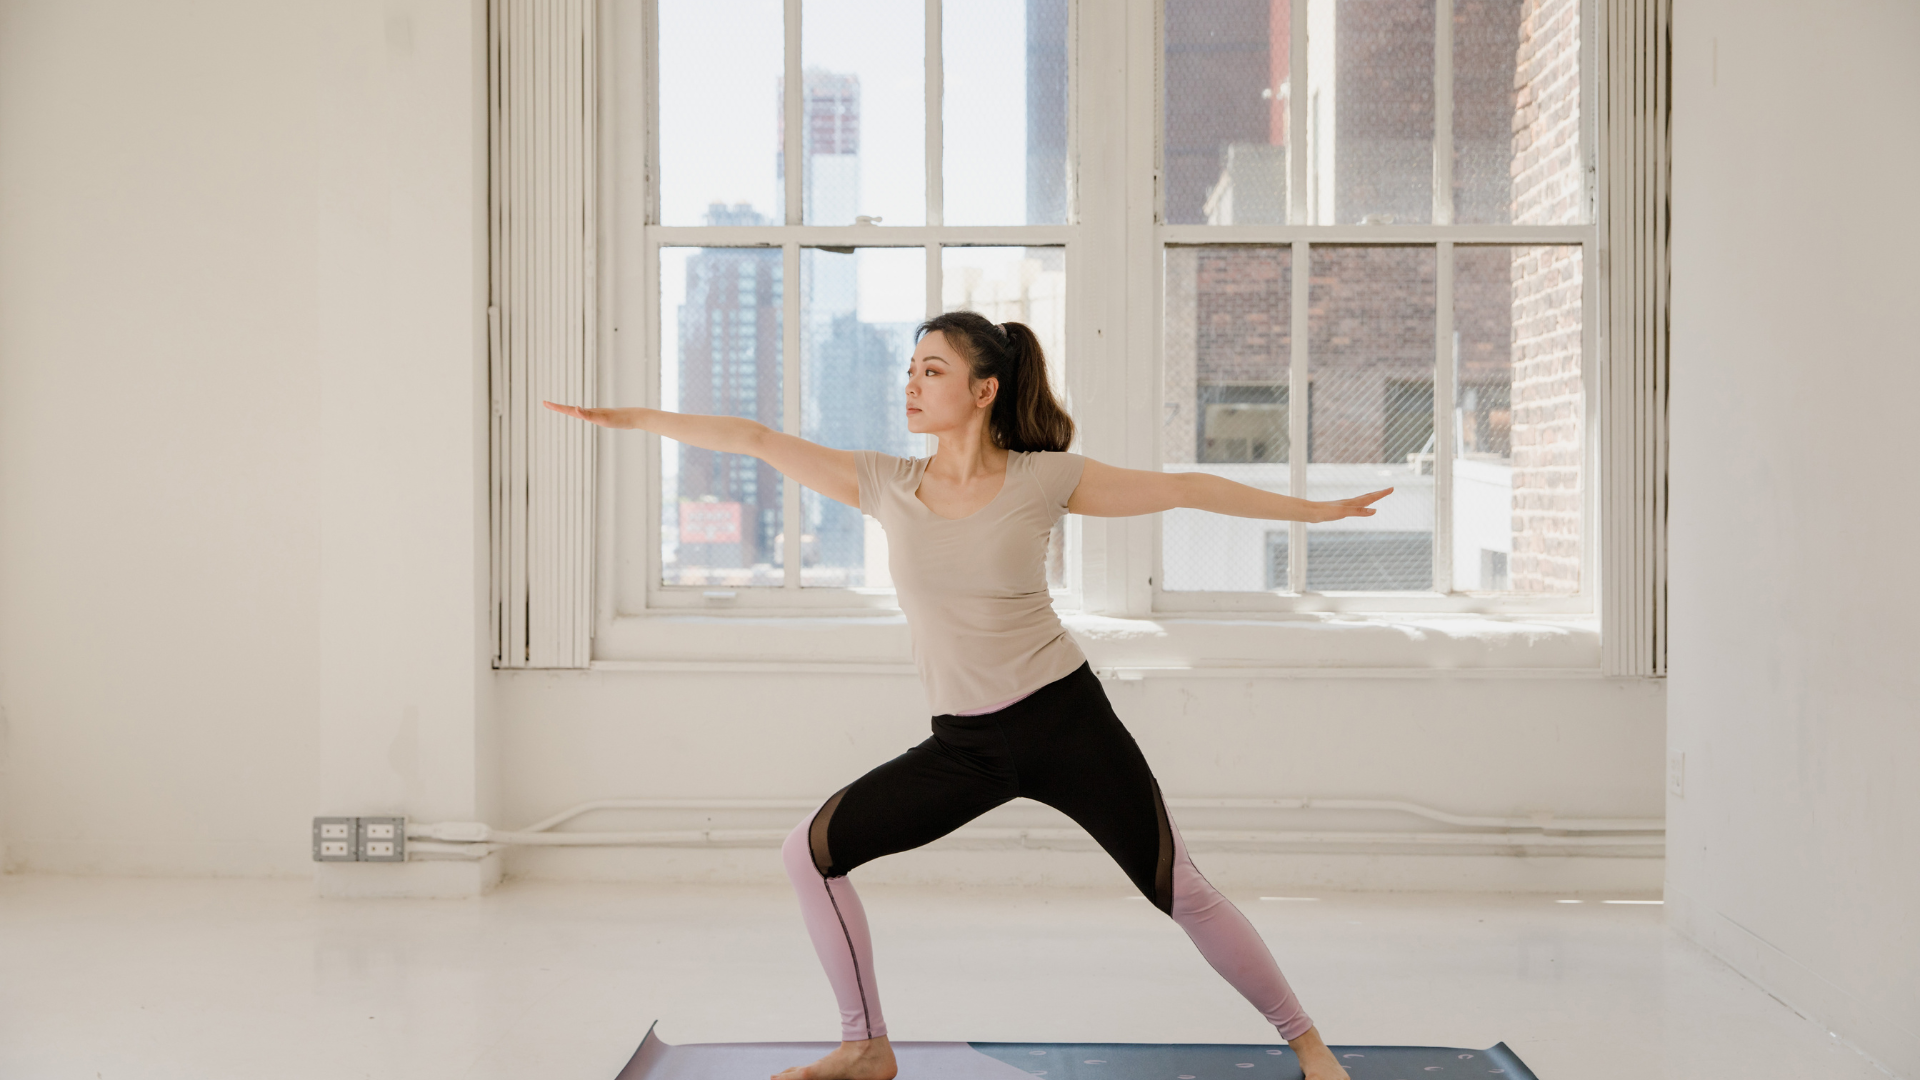
Warrior II (Virabhadrasana II)
This pose builds stamina and concentration while opening the hips.
How to practice:
- Stand with feet wide apart (about 4 feet).
- Turn your right foot out 90 degrees and left foot in slightly.
- Extend arms out to the sides, parallel to the floor.
- Bend your right knee until it’s directly over your ankle.
- Keep your torso centered and upright, neither leaning forward nor back.
- Turn your head to gaze over your right fingertips.
- Hold for 3-5 breaths, then repeat on the opposite side.
Benefits: Strengthens legs, opens hips and groin, stretches inner thighs, builds focus and endurance.
Modification: Reduce stance width or depth of the bend in the front knee if experiencing strain.

Seated Poses: Finding Stillness
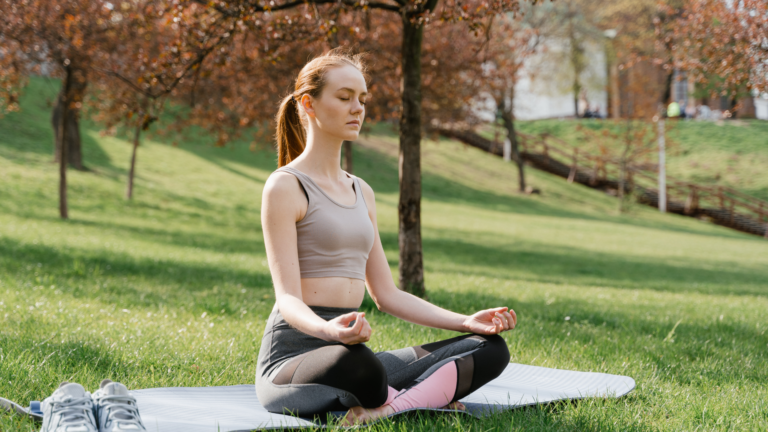
Easy Pose (Sukhasana)
This simple cross-legged position is ideal for beginning meditation and breath work.
How to practice:
- Sit on your mat or a folded blanket for support.
- Cross your shins, widening your knees, and slip each foot beneath the opposite knee.
- Balance your weight on your sitting bones, not leaning back.
- Lengthen your spine, crown of head reaching upward.
- Rest hands on knees, palms up or down.
- Relax your face and jaw.
- Breathe naturally for 5-10 minutes.
Benefits: Opens hips, lengthens spine, calms the mind, and prepares the body for meditation.
Modification: Sit on a cushion or folded blanket to elevate hips above knees and reduce strain.
Seated Forward Bend (Paschimottanasana)
This deep forward fold stretches the entire back body.
How to practice:
- Sit with legs extended straight in front of you.
- Flex your feet, pressing through the heels.
- Sit tall, lengthening your spine.
- Hinge at the hips, not the waist, as you fold forward.
- Reach for your shins, ankles, or feet, wherever is accessible.
- Keep your back flat rather than rounded.
- Hold for 30 seconds to 2 minutes, breathing deeply.
Benefits: Stretches hamstrings, lower back, and spine; calms the nervous system; improves digestion.
Modification: Bend your knees slightly if hamstrings are tight, or use a strap around your feet to extend your reach.
Cobbler’s Pose (Baddha Konasana)
Also called Butterfly Pose, this seated position gently opens the hips and inner thighs.
How to practice:
- Sit with legs extended in front of you.
- Bend your knees and bring the soles of your feet together.
- Draw your heels toward your pelvis as close as comfortable.
- Allow your knees to drop toward the floor.
- Hold your feet with your hands or rest hands on your ankles or shins.
- Lengthen your spine, avoid rounding your back.
- Hold for 1-5 minutes.
Benefits: Opens hips and groin; stretches inner thighs, knees, and ankles; improves circulation to pelvic region.
Modification: Place yoga blocks or folded blankets under each knee for support if hips are tight.
Supine Poses: Relaxation and Restoration
Bridge Pose (Setu Bandha Sarvangasana)
This gentle backbend strengthens the posterior chain while opening the chest.
How to practice:
- Lie on your back with knees bent, feet flat on the floor hip-width apart.
- Position feet parallel and close to your buttocks.
- Place arms alongside your body, palms down.
- Press into your feet and arms to lift your hips off the floor.
- Roll your shoulders under and interlace your fingers beneath your back (optional).
- Keep your thighs parallel.
- Hold for 30 seconds to 1 minute, breathing steadily.
- Release by slowly rolling your spine back to the floor.
Benefits: Strengthens glutes, hamstrings, and lower back; opens chest and shoulders; stimulates thyroid; calms the mind.
Modification: Place a block under your sacrum for a supported version that requires less effort.
Reclined Spinal Twist (Supta Matsyendrasana)
This gentle twist releases tension in the spine and lower back.
How to practice:
- Lie on your back with knees bent, feet flat on the floor.
- Extend arms out to sides in a T-position.
- Draw both knees to chest.
- Slowly lower knees to the right side, keeping shoulders grounded.
- Turn head to left (opposite direction of knees) if comfortable for neck.
- Hold for 30 seconds to 1 minute.
- Return knees to center, then repeat on the left side.
Benefits: Releases spinal tension; stretches back, chest, and shoulders; improves digestion; encourages detoxification.
Modification: Place a cushion or folded blanket between knees and floor for support.
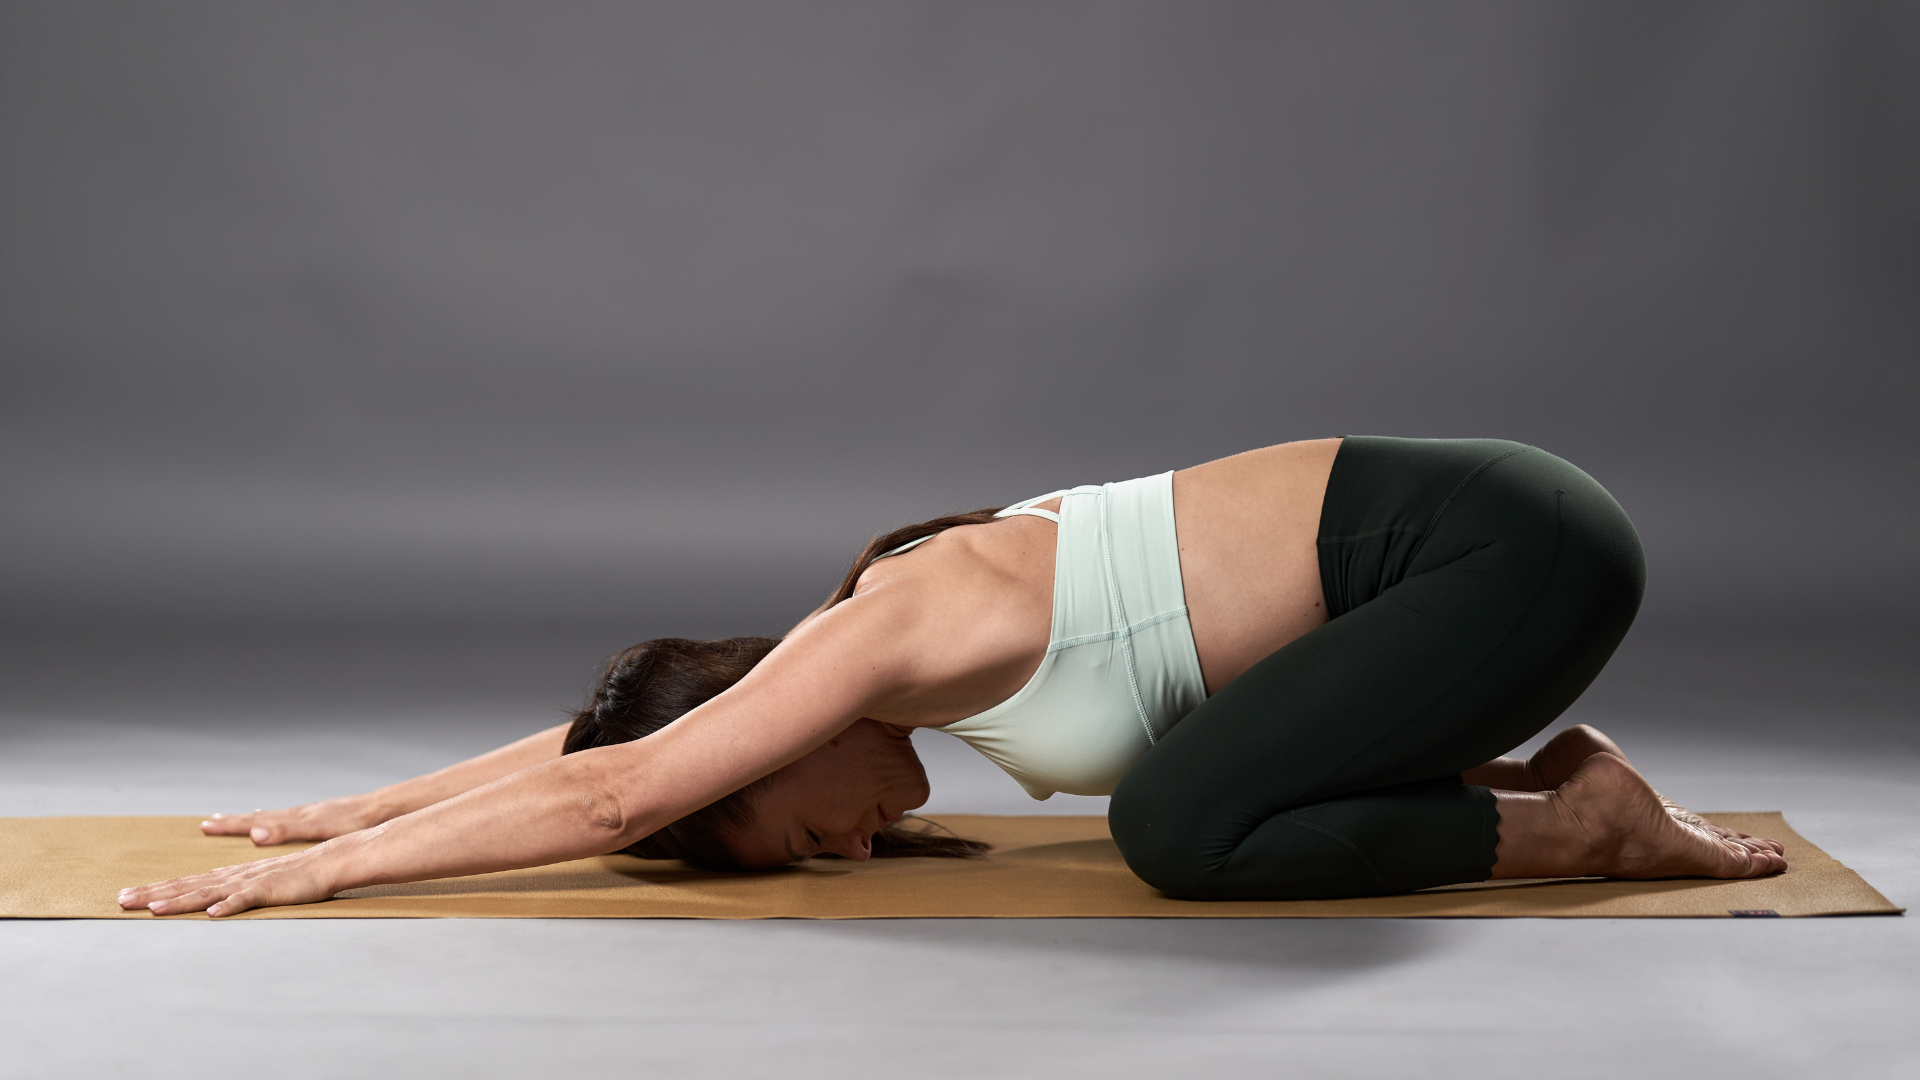
Corpse Pose (Savasana)
Perhaps the most important pose in yoga, Savasana allows for complete relaxation and integration.
How to practice:
- Lie on your back with legs extended, slightly apart.
- Allow feet to fall open naturally.
- Place arms at sides, slightly away from your body, palms facing up.
- Close your eyes and release all muscular effort.
- Scan your body for tension and consciously release it.
- Stay for 5-10 minutes, allowing breath to be natural.
Benefits: Reduces blood pressure, anxiety, and fatigue; promotes deep relaxation; integrates the benefits of your practice.
Modification: Place a folded blanket under your head or a bolster under your knees for greater comfort.
Balancing Poses: Finding Center
Tree Pose (Vrksasana)
This standing balance improves focus while strengthening the legs and core.
How to practice:
- Begin in Mountain Pose.
- Shift weight onto your left foot.
- Place the sole of your right foot on your left inner ankle, calf, or inner thigh (avoid the knee).
- Find a focal point at eye level to help with balance.
- Once stable, bring hands to heart center or extend arms overhead like branches.
- Hold for 30 seconds to 1 minute, then switch sides.
Benefits: Improves balance and concentration; strengthens ankles, calves, thighs, and spine; stretches inner thighs and groin.
Modification: Practice near a wall for support, or keep toes on the ground with just the heel placed against the opposite ankle.
Creating Your Practice Routine
As a beginner, consistency matters more than duration. Start with:
- 15-20 minutes of practice, 3-4 times per week
- Focus on 4-5 poses per session, holding each for several breaths
- Always include a brief warm-up and end with Savasana
- Listen to your body and honor its limitations
- Breathe consciously throughout your practice
Beyond the Physical Practice
While mastering these fundamental poses is important, remember that yoga is more than physical exercise. The breath (pranayama), mindfulness, and intention behind your movements are equally valuable aspects of practice.
Check out our blog, Best Yoga Styles for Different Fitness Levels
Try integrating these elements:
- Begin each practice with a moment of centering and setting an intention
- Coordinate movement with breath, inhaling on expansions and exhaling on contractions
- Practice without judgment or competition
- End each session with a few minutes of stillness
When to Seek Guidance
While learning at home is valuable, consider attending a few classes with a qualified instructor who can:
- Provide personalized alignment cues
- Offer appropriate modifications
- Ensure you’re practicing safely
- Answer specific questions about your body and practice
Conclusion
Mastering these essential yoga poses provides a solid foundation for your journey. Remember that yoga is not about perfect poses but about awareness, breath, and the union of mind and body. Personalized yoga classes can further support your growth, tailoring sequences to your unique needs and goals.
Be patient with yourself, celebrate small improvements, and enjoy the process of discovery that yoga offers. Your body will gradually open and strengthen with consistent practice. The most important pose is the one you’re in right now — approached with attention, respect for your body, and steady breath.